Re-finishing a Heckel bassoon - Part 1!
May 1st, 2020
Re-finishing a Heckel bassoon - Part 1!
Re-finishing a Heckel bassoon - Part 1!
This Heckel 6000 series bassoon had been poorly finished with a thick, synthetic varnish. Varnish like this can choke the acoustics of a bassoon, by restricting the natural resonance of the wood. The colours were also inauthentic and poorly applied, so we decided to restore its original colours, using specialist dyes and varnishes.
Watch Part 1 of the transformation of this world-class Heckel bassoon. This bassoon will soon be available to purchase, so contact us if you would be interested in trying it when ready.
Watch Part 1: re-finishing a Heckel bassoon:
The re-finishing process takes a high degree of precision, and is all done by hand to achieve the highest quality results.
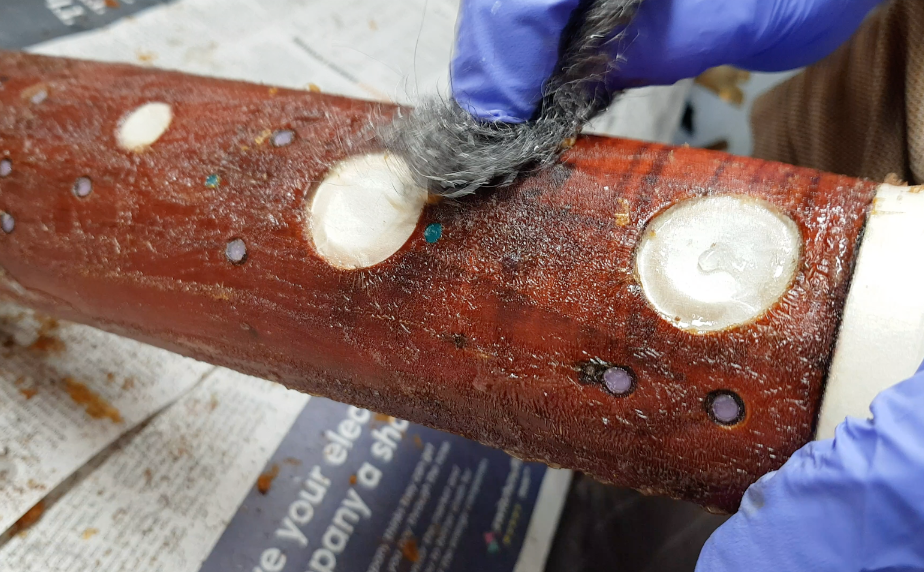
First, we used a delicate, museum grade varnish remover to strip the old varnish. Once the varnish remover had broken down the old varnish, we carefully rubbed it down to remove it from the surface of the bassoon. In so doing, we uncovered the original Heckel tiger stripes! Tiger stripes occur naturally in top quality maple wood, but modern bassoons have them applied for a more striking effect.
After a final rub down, we also found the original manufacturers marks - six dots imprinted on each joint. These marks were used by Heckel to group all of the parts of a particular bassoon together during the manufacturing process.
Once we had carefully prepared the wood for colouring, we mixed specialist dyes designed for use on wooden musical instruments, measuring them out to precise formulas. All of our dyes and varnishes are made from natural ingredients, and are specially designed to be non-restrictive to the surface of the wood. This allows the maple to expand and contract as it normally does, preserving the tonal qualities of the bassoon.
Next we applied the dye over many days, enhancing the tiger stripes in keeping with Heckels of this era, by carefully highlighting the original markings. Both the stripes and the colour start out very bold, but as layers are added they become more subtle. Over many days we deepened and enriched the colour, later adding pigments to darken it.
Once the colour was dry, we added various specialist sealants and primers, designed to preserve the natural resonance of the wood. Some of the sealants we apply are designed to create a diochromatic visual effect, where the light refracts between the layers. Each layer was rubbed in by hand, enriching the colour and sealing the wood.
Next we made pigments to darken and mature the colour, applying pigments, primers and sealants over many days.
That's all for Part 1!
Tune in for Part 2 in the coming weeks, when we will apply the final top coats to the bassoon and you will be able to see the finished product!

